Portrait Fixer combines 2–6 portrait photos side by side into a single 1800×1013 pixel JPEG, with a white dividing line between each photo.
1. Switch to Portrait Fixer and upload your photos
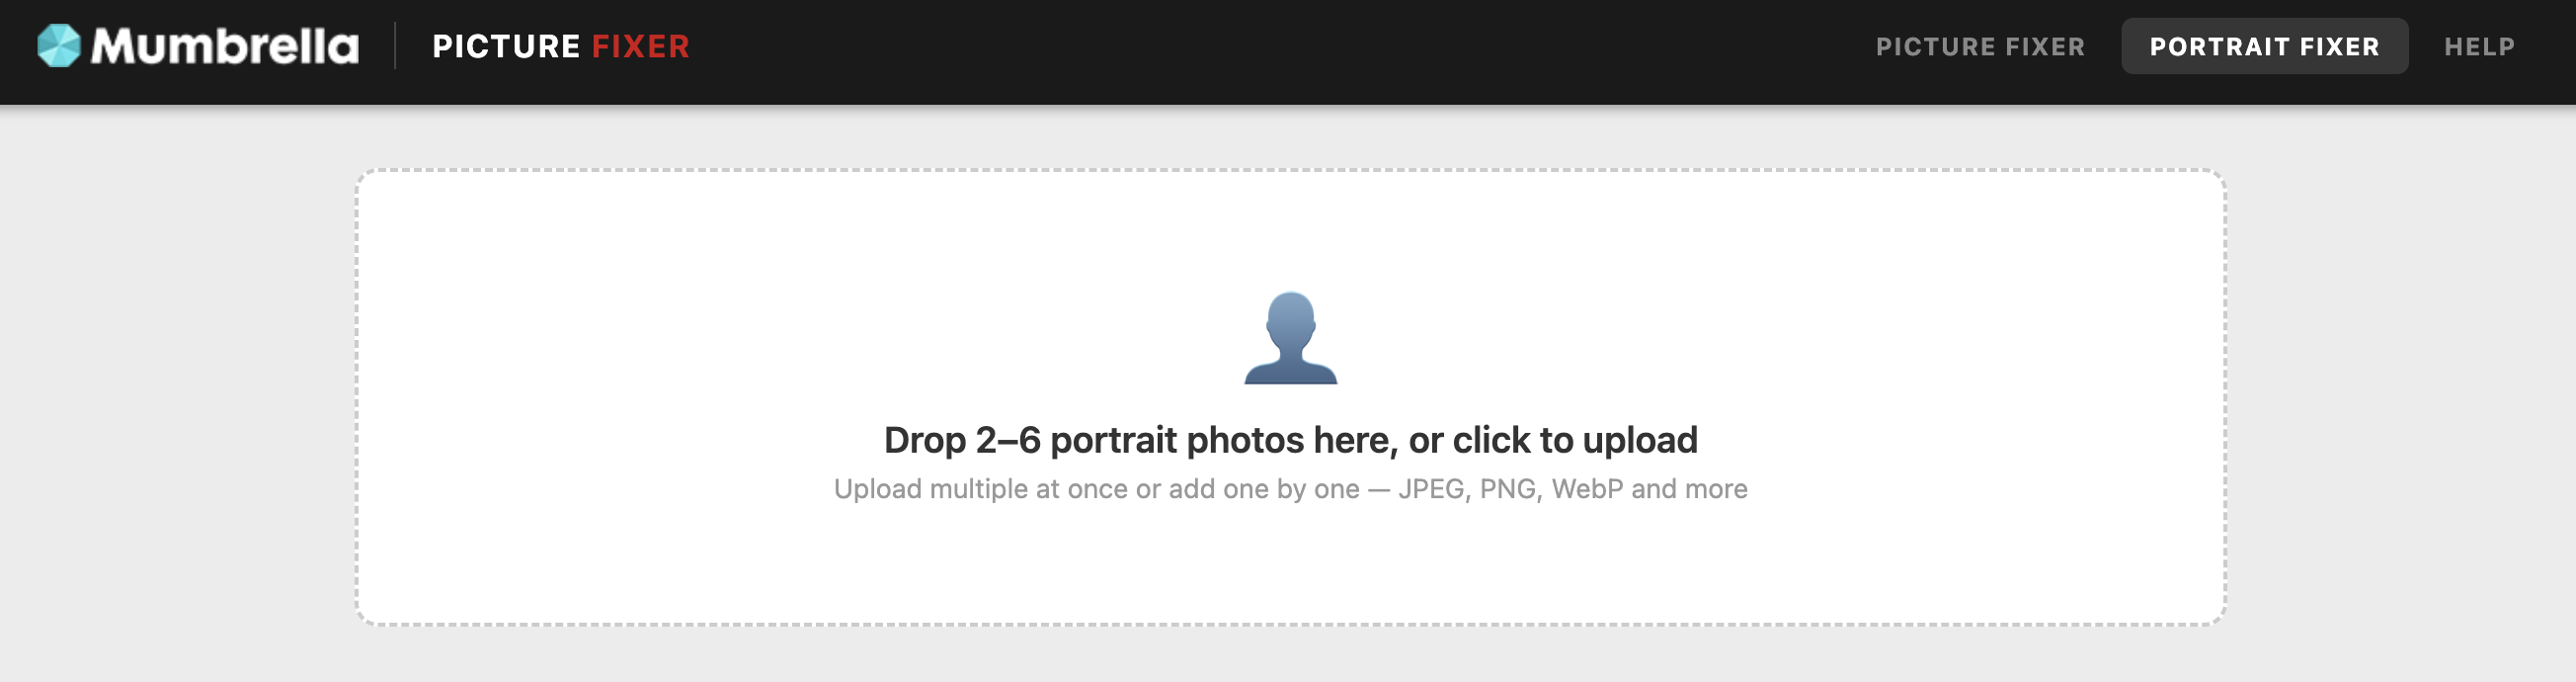
Click Portrait Fixer in the top navigation bar. Then click the upload area or drag 2–6 photos onto it. You can upload them all at once or one at a time. Once the first photo loads, an Add another portrait area appears at the bottom of the page.
2. Crop, adjust and name each portrait
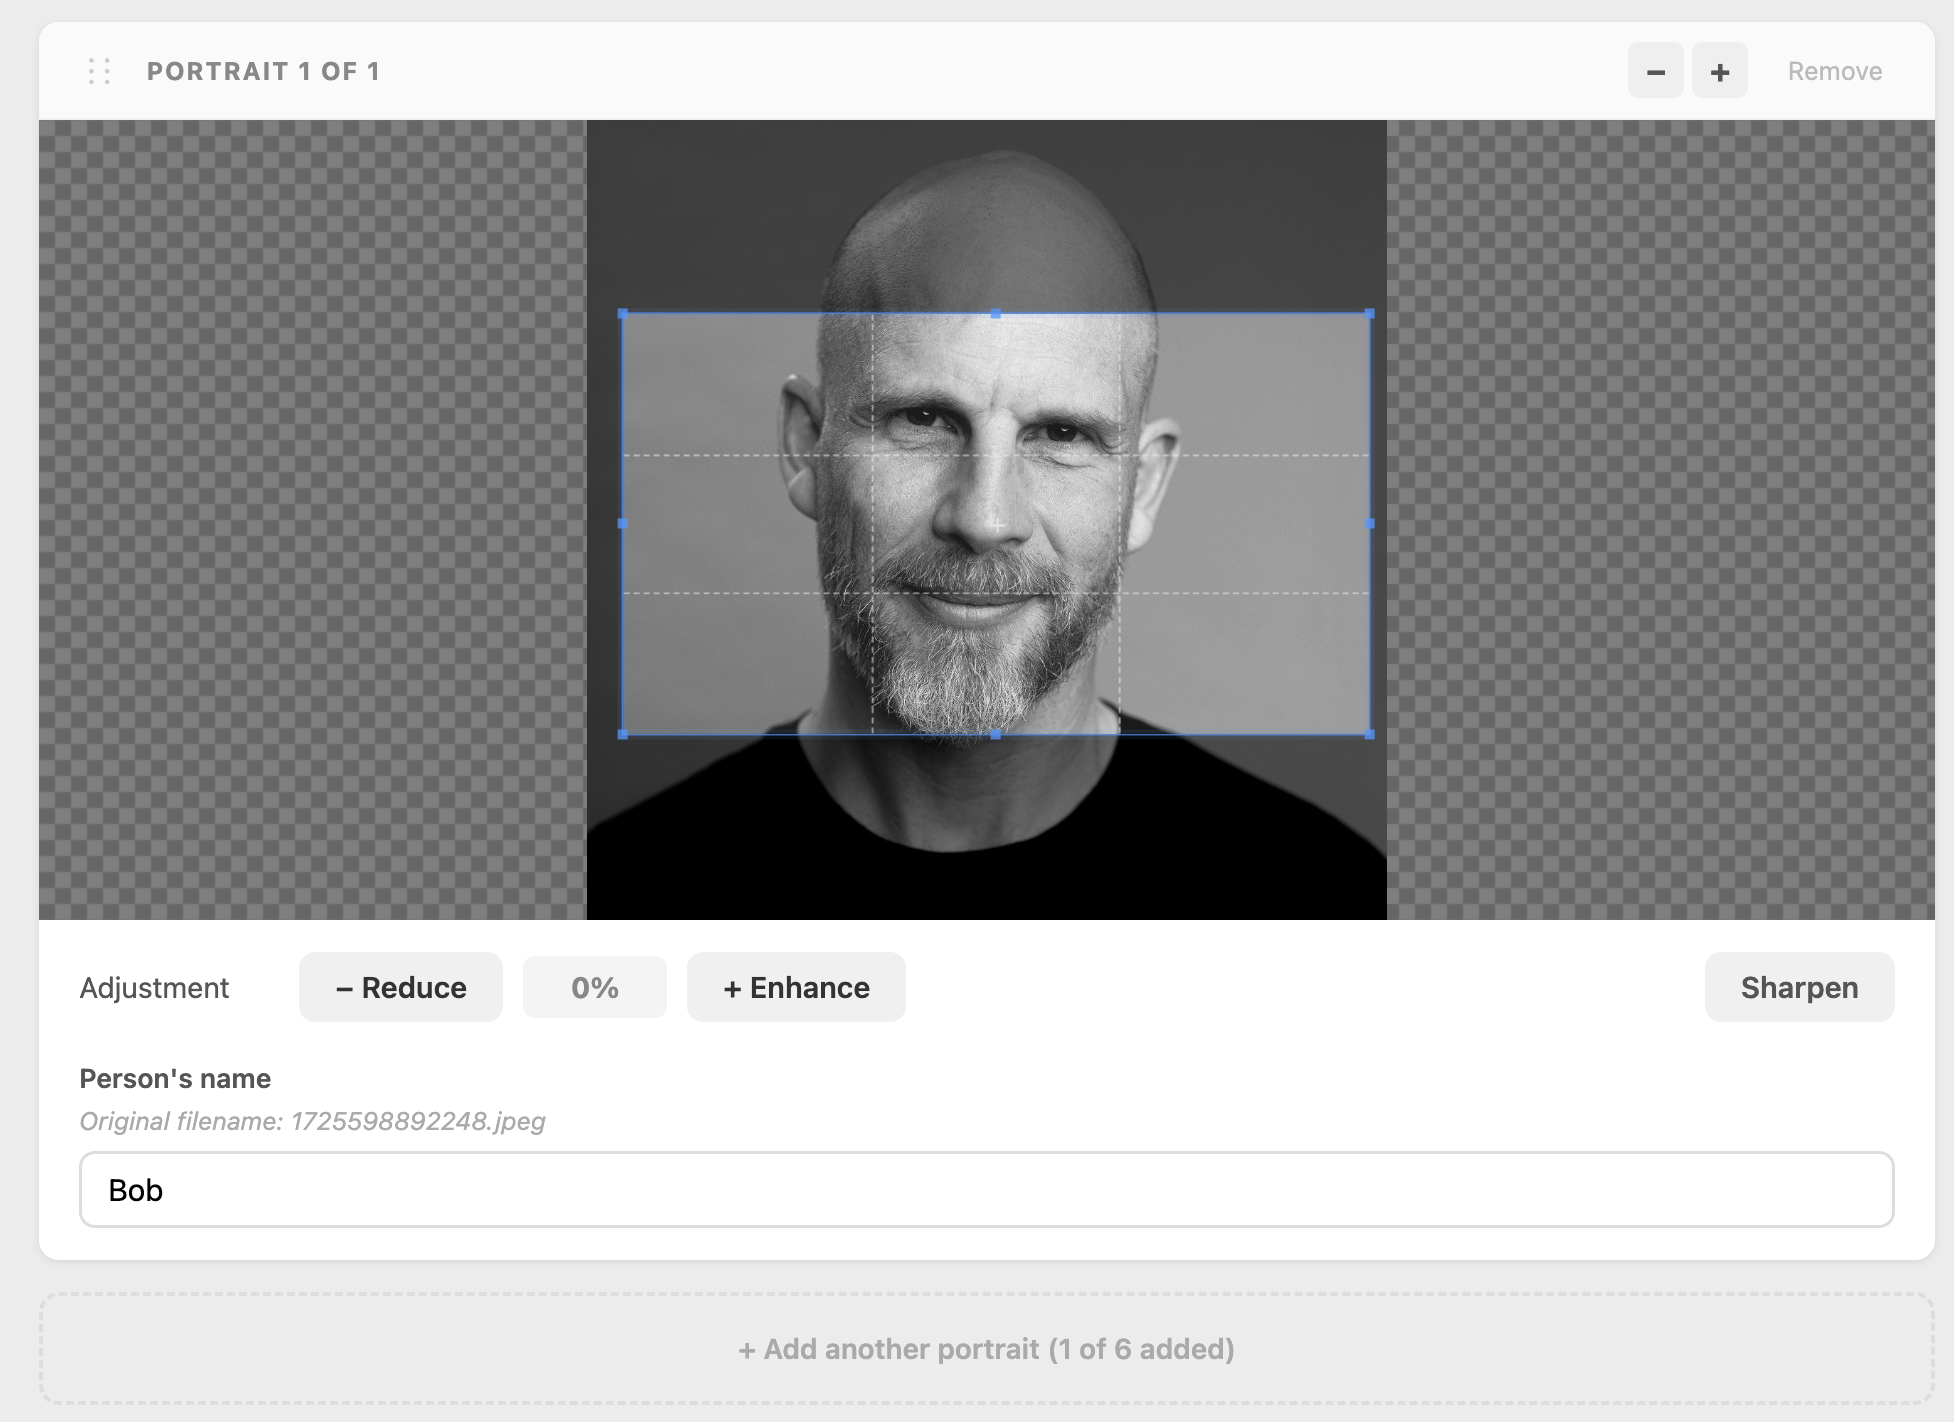
Each photo gets its own panel. In each panel:
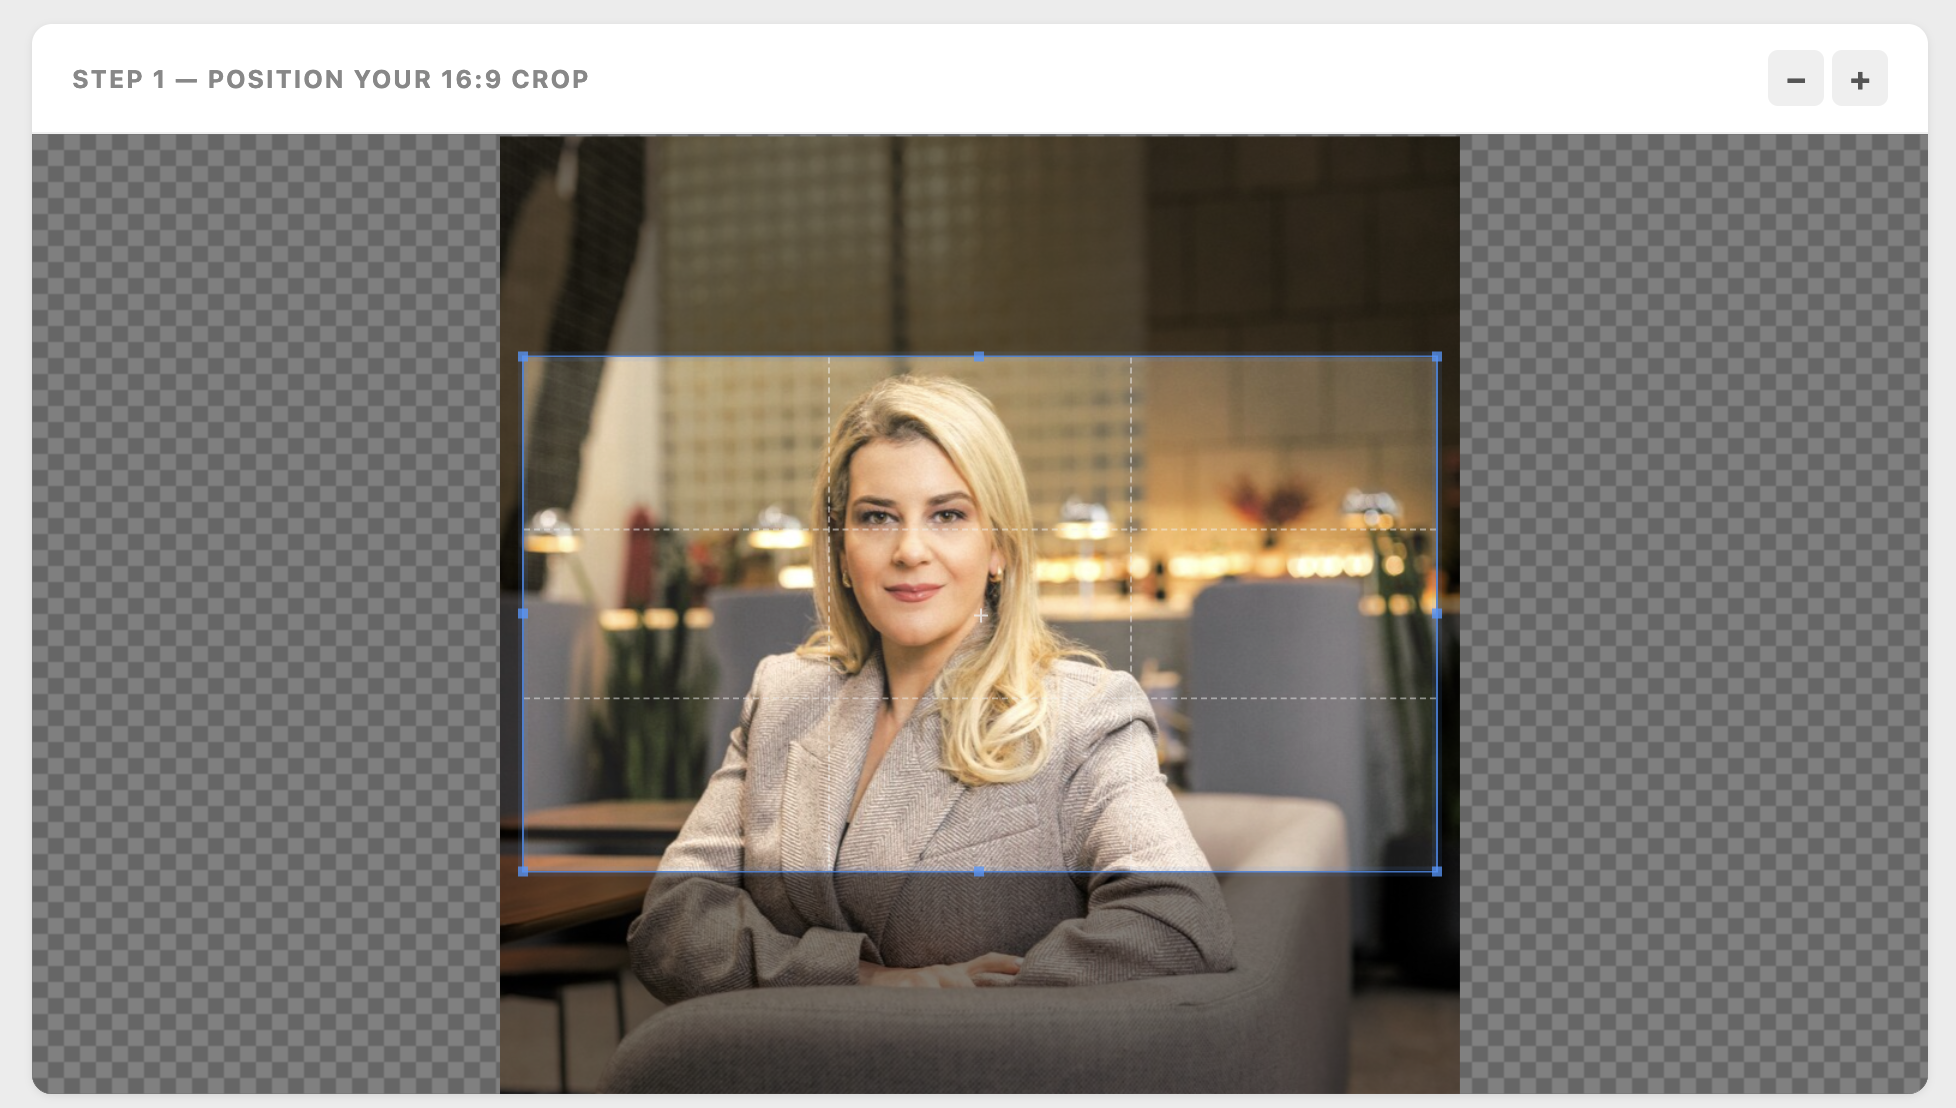
- Drag and zoom the crop box the same way as in Picture Fixer.
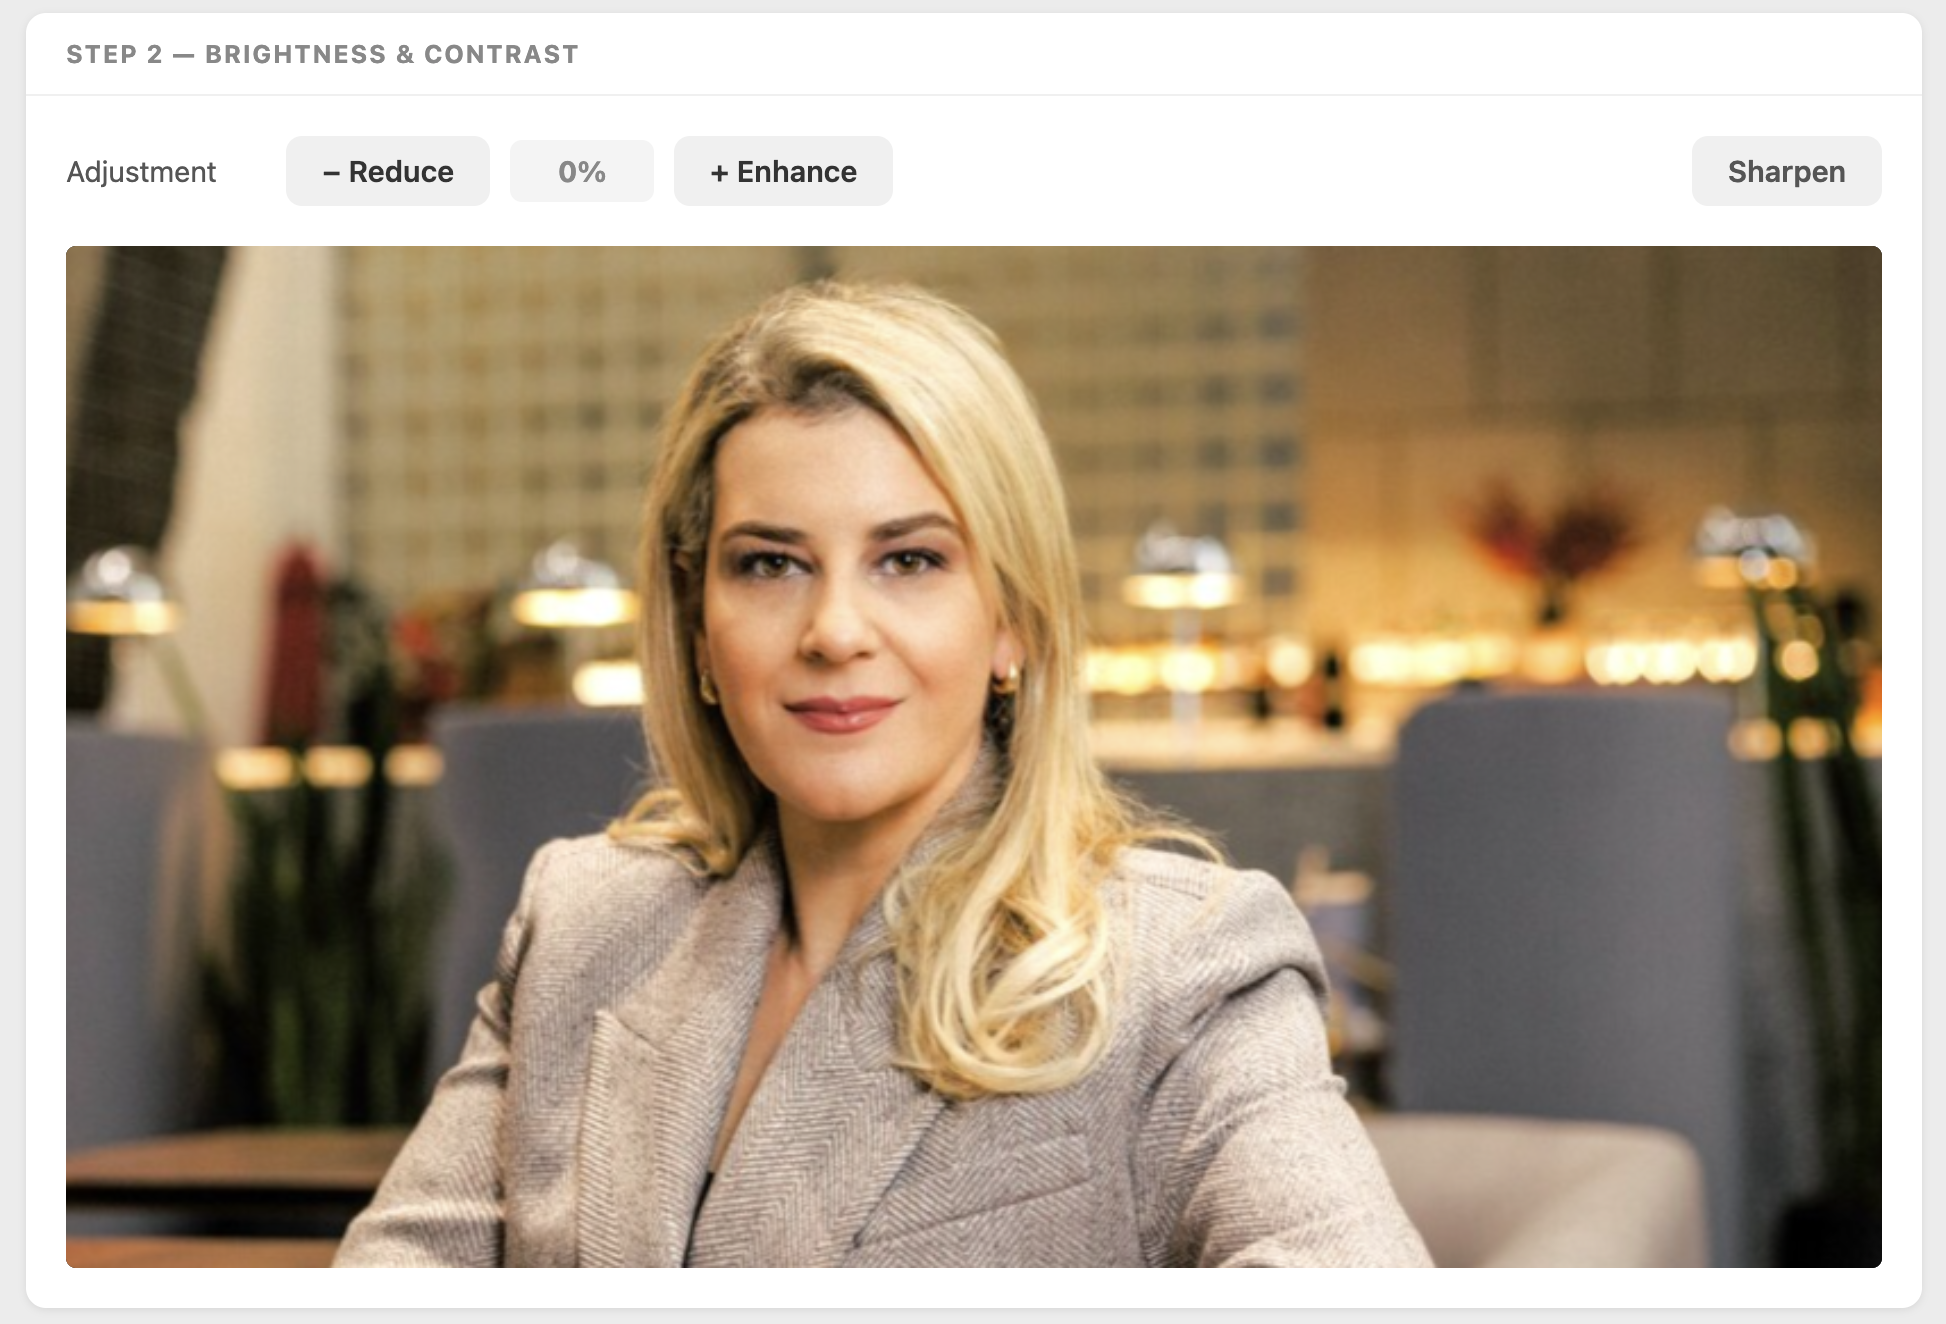
- + Enhance, − Reduce and Sharpen work the same as in Picture Fixer.
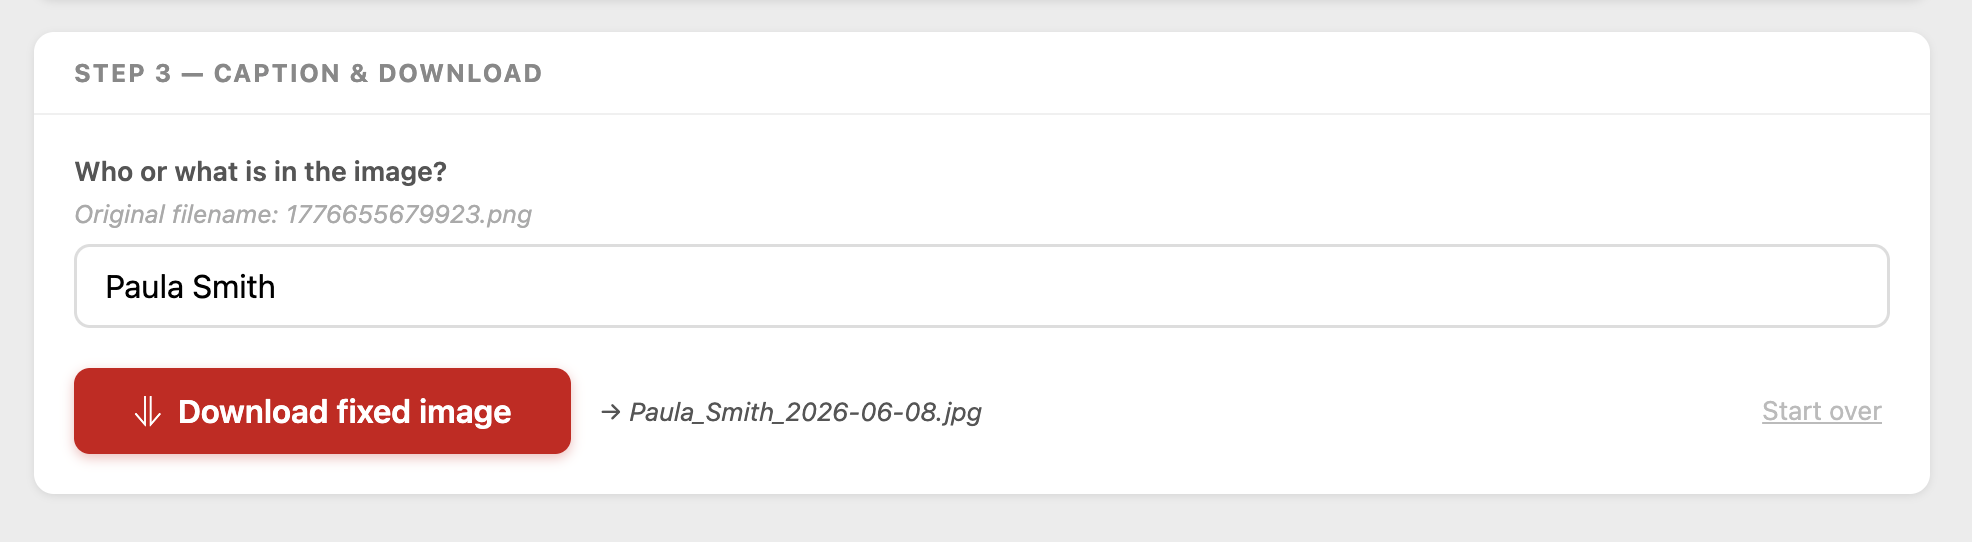
- Type the person’s name in the Person’s name field. The original filename is shown above as a reference.
The crop frame shape adjusts automatically if you add or remove a portrait, because the width of each slot changes with the number of photos. Check your crops again after adding or removing anyone.
3. Reorder the portraits
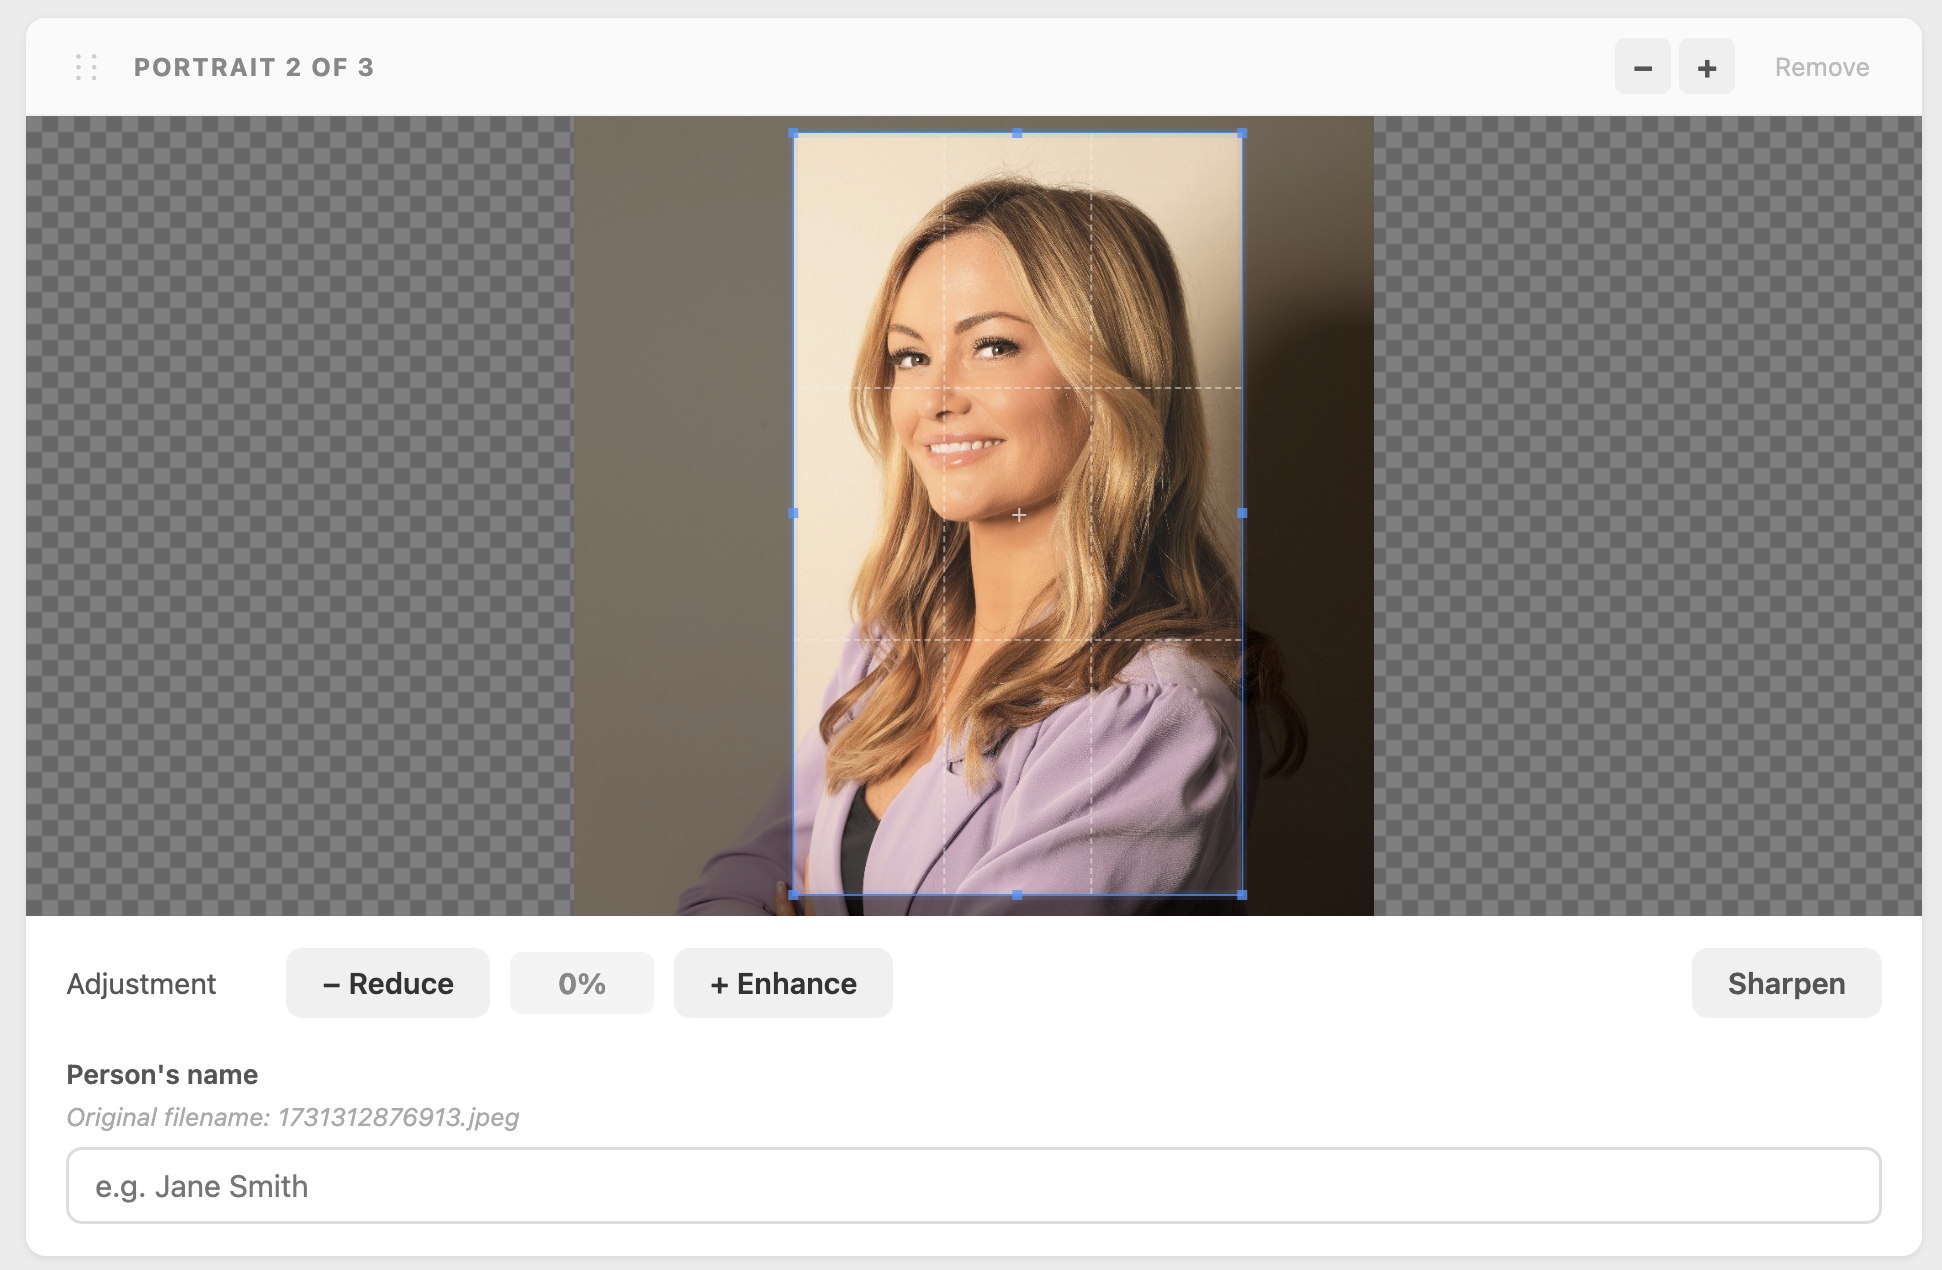
Grab the ⋮⋮ handle at the top left of any panel and drag it up or down to change the order. The composite preview at the bottom of the page updates automatically.
4. Download
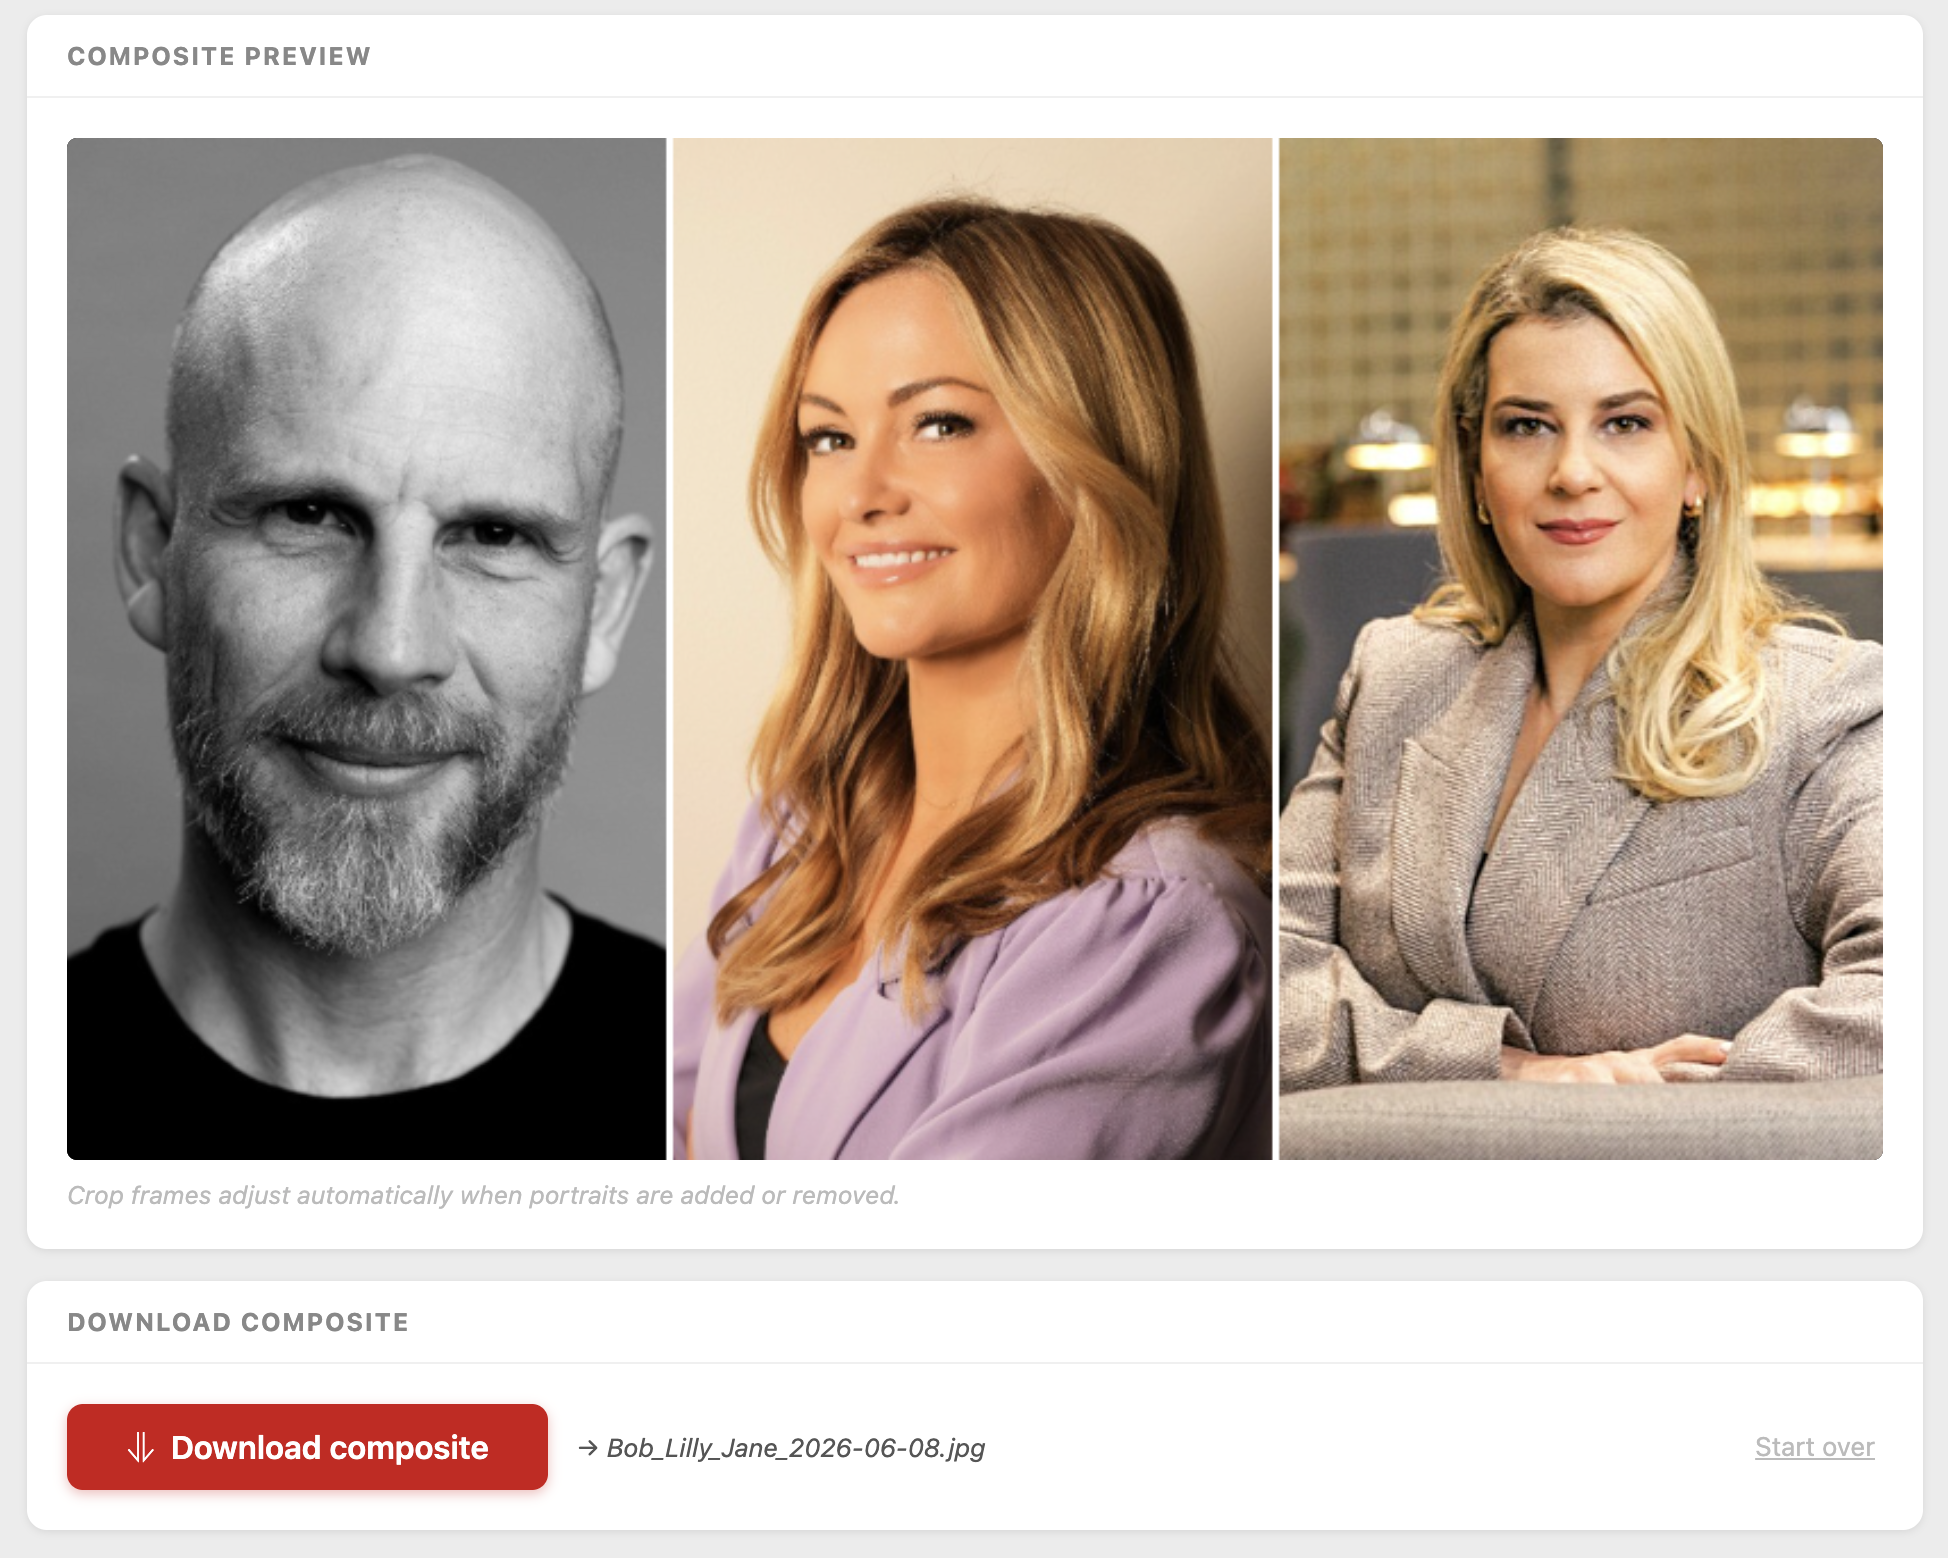
- The composite preview shows how the final image will look.
- Every Person’s name field must be filled before the download button becomes active.
- Click Download composite. The filename is made from all the names in order, separated by underscores, plus today’s date.